Blogs
Mastering the Slit Lamp Microscope: A Step-by-Step Guide for Beginners

Using a slit lamp may be a frustrating experience to learn. All eye doctors have this complicated-looking instrument, and you, as an inexperienced learner, may tend to ask yourself how in the world you will ever come to grips with all the moving levers and buttons? It takes the proper technique and practice to use a slit lamp comfortably.
The slit lamp is your window to the eye. It is like a super-powered magnifying lens and a pinpoint light source that enables one to see what the human eye could never sense. As soon as you grasp the fundamentals, you will find out that it is a very simple tool that uses rational steps.
What is Slit Lamp Microscope?
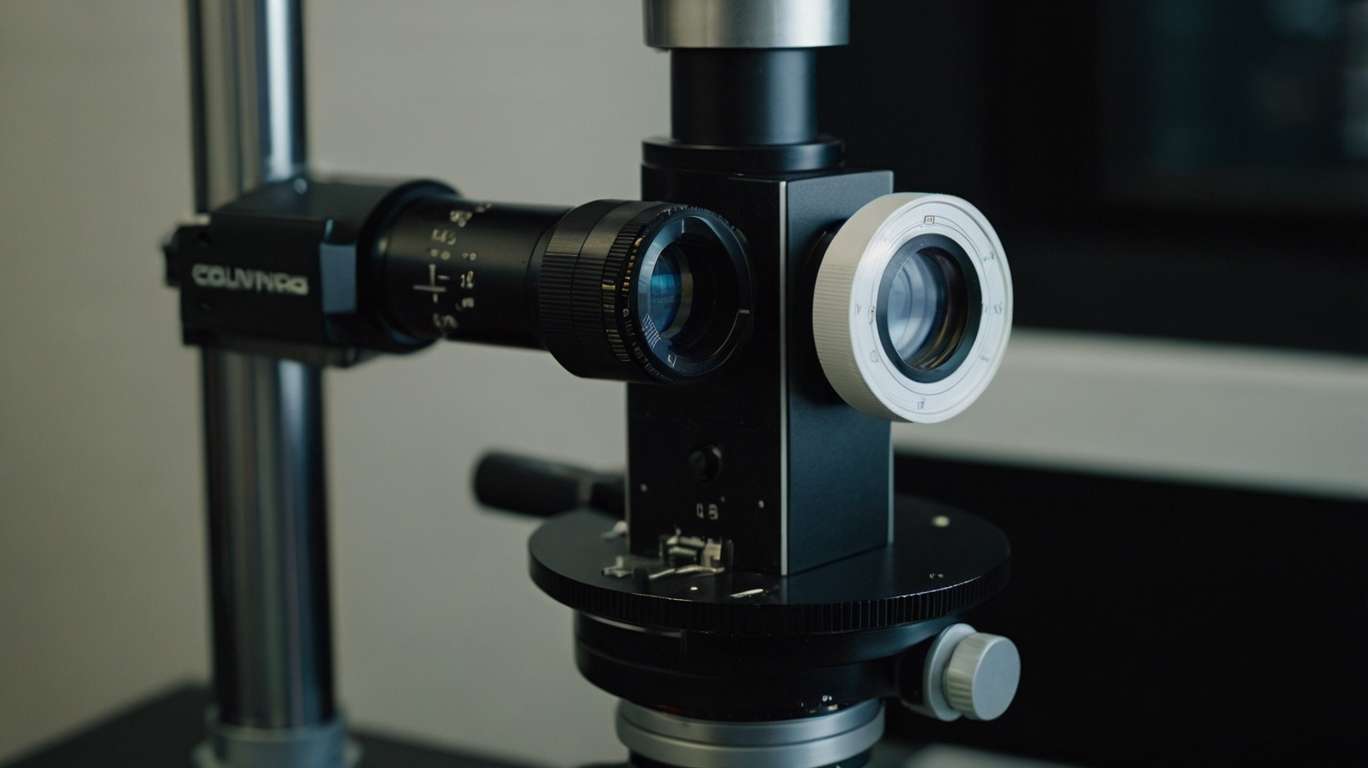
So, what are we supposedly working with before we discuss how to work with it? A slit lamp essentially is a combination of both a microscope and a light source. The light creates a narrow slit (that would be the slit bit) which you can took to shine on various sections of the eye. The microscope component enables magnification of the observed object.
Imagine this way, suppose you were to examine a clear glass marble in a dark room. Well, you would want a flashlight to see through it, wouldn't you? The slit lamp does the same with eyes, with an extensive increase in precision and strength.
Preparing: Your Pre-Exam Checklist
1. Creating a Work Area
Ask your patient to sit down before being prepared. Ensure that the slit lamp is clean, the power is connected, and all controls move smoothly. A test of the light and magnification takes time afterwards.
Have tissues available, in case patients become emotional during the examination. Make sure your instruments are nearby--fluorescein drops, numbing drops, or tonometry equipment that you will use.
2. Preparing Yourself
Find the seat height that feels comfortable to you. Keep your back straight and arms resting naturally. Wash your hands and be mentally prepared to concentrate. A slit lamp examination is sensitive, so it is essential to remain undistracted during the examination.
Patient Positioning: Making It Right in the Beginning
3. Initial Setup
Assist your patient into the chair and adjust it to a height where their eyes are level with the instrument. It may require several attempts; each patient is unique, and such precision with height will result in a higher quality of the examination.
Request that the patient sit straight with their feet flat on the floor. Their good posture also assists them when taking the exam. When they are slouching or feel uneasy, they will move more, and that will cause you to work more.
4. The Chin Rest and Forehead Bar
Direct the patient's chin to the chin rest. This should not be uncomfortable, though. Their foreheads only need to be resting on the forehead bar, not squeezed.
One helpful tip is to instruct the patients to rest their foreheads on the bar, not pressing it. Too much pressure is exerted by many people, which causes tension and increases their chances of relocating.
5. Eye Level Adjustment
The patient's eyes must be level with the instrument's reference marks. Adjust the table up or down instead of having the patient crane their neck or slouch if it is too high or too low.
Ensure that the eyes are aligned straight. Patients may unknowingly lean their head, an aspect that can disrupt your examination.
Instrument Adjustment: How to Make It Work Your Way?
6. Beginning with the Basics
The magnification starts at 10x. This will provide you with a broader perspective and help you orient more easily. One thing that you can always do later is magnify to view details.
Adjust the level of lighting to an acceptable level. Excessive brightness can stun the patient and may cause tears to be shed. Too much darkness makes it impossible to notice details. Begin by using a medium and adding it as required.
7. The Slit Beam settings
Begin with slit beam using medium width which is kept vertical. This will be your normal initial point of all examinations. The beam must be of a level that can sufficiently light a structure, but not to a level of discomfort.
The depth of the slit must be big enough to cover the area you wish to investigate. To suit general viewing, make it tall so that it lights up the entire visible portion of the eye.
8. Targeting the Instrument
Operate the whole set of instruments by working the joystick. Minor manipulations are critical, as excessive jerkiness can cause uneasiness for both the examiner and the patient.
Concentration by forth and back sliding of the whole slit lamp itself, and not by separately moving parts. This puts everything in place.
Simple Techniques of Examination
9. To begin with, the Lids and Lashes
You must always start by examining the eyelids and eyelashes. This will enable you to practice with the controls as you examine familiar objects, such as easily visible structures.
10. To the Conjunctiva
The conjunctiva is the transparent layer on the white surface of the eye. It is a good second act since it is relatively simple to observe and test. Have the patient look in various directions to examine different areas of the body.
11. The Cornea Examination
Slit lamp examination is of real value in the cornea. It is a visible portion of the eye that may conceal the invisible dissimilarities.
An angle of a narrow-slit beam will then be used to form what can be termed as an optical section. This process illuminates the cornea as a slice, making issues within the tissue layers more visible.
12. The Anterior Chamber
The area between the cornea and iris is called the anterior chamber. It should be full of clear fluid; however, issues in this area may indicate severe eye diseases.
Check whether it is clear, there are floating particles, or if there are depth changes. The slit beam method is also helpful in this case, as the light is directed at an angle to create contrast between normal and abnormal tissue.
Tips on Success
1. Communication is Priority
Communicate with your patients during the check-up. Inform them about your business and what they can expect from it. If a patient is blinking excessively, allow them to rest. A compelling study seldom achieves good results.
2. Beginner Mistakes
• Do not maximize your magnification. You might want to zoom in now, but it could cause you to lose your orientation and miss the big picture.
• Make sure not to hurry between the various areas. It is beneficial to take your time to examine each structure closely before proceeding.
• Make a point to check both eyes. One becomes so focused on checking one eye that one forgets to examine the other to make a comparison.
3. Developing Your Skills
Master the simple controls when you are not on schedule. Learning how to focus, shift the slit beam, and adjust magnification significantly facilitates real examinations.
Observe good professionals as often as possible. Pay attention to the postures of patients, settings, and their way of passing during their examination routine.
Fixing Common Issues
1. When You Cannot Get a View
When the picture is blurred, always examine the patient's positioning to ensure it is correct. Do they have the correct height? Is their head in the right place?
Then, ensure that your instrument is properly adjusted. Is the magnification correct? Is the light bright and not too bright?
2. Patient Comfort Problems
Dim lights or take breaks if patients complain of brightness. Remember, discomfort causes more movement, complicating the exam.
Certain patients experience difficulties with keeping their eyes open. Do not demand, but express some gentle encouragement. You can assist in maintaining the eyelids apart, in case of necessity, but first, you should seek permission.
3. Technical Difficulties
The instrument may require maintenance where smooth functioning of controls is not present. Never force stuck controls, as this may do damage.
Ensure that spare instruments are available when possible. During such clinic days, technical issues are usually experienced.
Working on Your Examination Routine
1. Developing a System
Establish a regular study schedule for each exam. This may be: lids and lashes, conjunctiva, cornea, anterior chamber, and then any special techniques that are required.
A routine prevents you from missing anything meaningful and makes your efficiency higher in the long run.
2. Documentation
Make some notes right after or in the course of every exam. What now appears may be considered in later comparisons.
It proves helpful for some practitioners to draw strange results. Simple drawings can capture the specifics that words may fail to convey.
Conclusion
It takes time and effort to learn how to utilize the slit lamp microscope, but it is possible. Get a jump start by learning how to plan your examination, place the patient appropriately, and be acquainted with the most basic instrumentation tracks.
